To manage your availability times and appointments, go to Appointments > Availability.

 Before your patrons can start booking appointments with you, you must first designate the times when you're available. When you add an availability time to your My Scheduler, you are essentially saying "I'm available for an appointment at this time."
The duration of each new availability time you add will be determined by either:
When you're just getting started with My Scheduler, you'll notice that your appointment calendar displays blue squares. Every blue square represents an hour where you have not added an availability time. In other words, it's like you are saying "I'm not available for an appointment at this time."
Adding availability times

Note: you cannot add availability times on top of existing availability times and appointments. You will either need to schedule around them, or delete the existing times & appointments first.
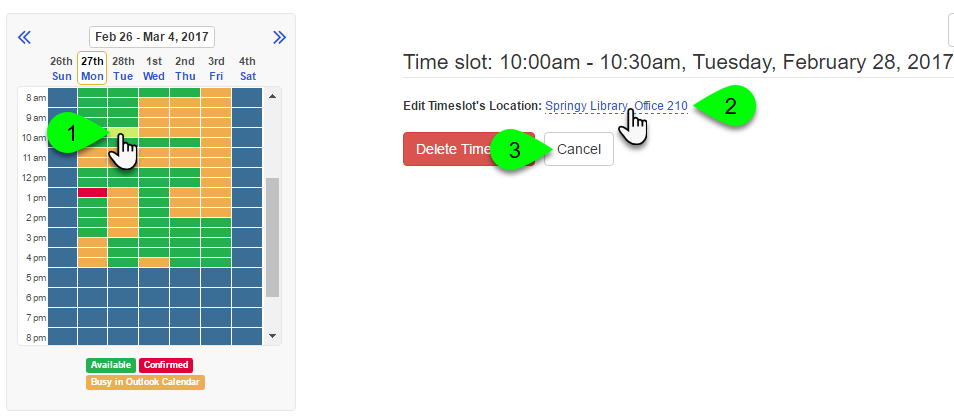
Once you've added your availability times, you'll notice differently colored squares on your availability calendar. Each color corresponds to a different availability status. Here's a quick summary of what they mean.
| Status | What it means |
|---|---|
| Available | This indicates that you have made yourself available for an appointment during this time. |
| Confirmed | This indicates that you have a confirmed appointment during this time. Patrons cannot book an appointment with you during this time. |
| Busy in Outlook/Google Calendar | If you are syncing the free/busy times in your Outlook or Google calendar with My Scheduler, this indicates that the availability time you added conflicts with a busy time in your calendar. Patrons will be prevented from scheduling appointments during this time slot; however, you can override this if manually adding a booking from the admin side of My Scheduler. |
| Unavailable | This indicates that you have not made yourself available during this time. |

To remove an individual availability time slot from your My Scheduler:

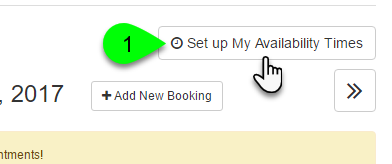
Making bulk changes to availability times
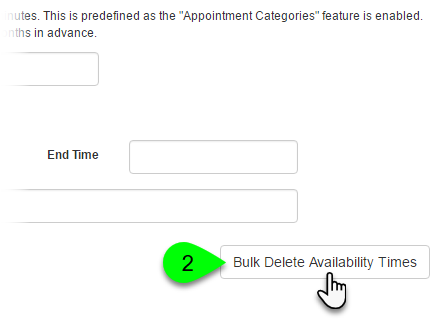
If you need to delete a large swath of availability times from your My Scheduler, you can bulk delete your availability times. This is also necessary if you've changed the appointment duration and padding in your Appointment Scheduler Settings and want to replace your existing times.
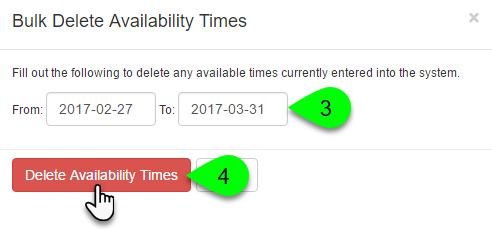
Bulk deleting your availability times
This will remove all availability times from your My Scheduler, but will not cancel any confirmed appointments. Those will remain at their existing times. As a result, if you need to add new availability times to your My Scheduler, you will need to schedule around them or cancel the appointments. That's because you can't add availability times on top of existing availability times or appointments.
We can now sync our Outlook Calendars with LibCal. This will block off the times that you are busy in Outlook (meetings, etc.) from the times that you designate for appointment hours and will also automatically add any bookings that you do get through LibCal directly until your Outlook calendar! You will still need to set up your availability in LibCal for the hours that you want to take appointments, but when you have a conflict with those times in Outlook, LibCal will not allow patrons to book on those times.
For an example, please see the screenshot below.

To set this up. Watch the video below.
